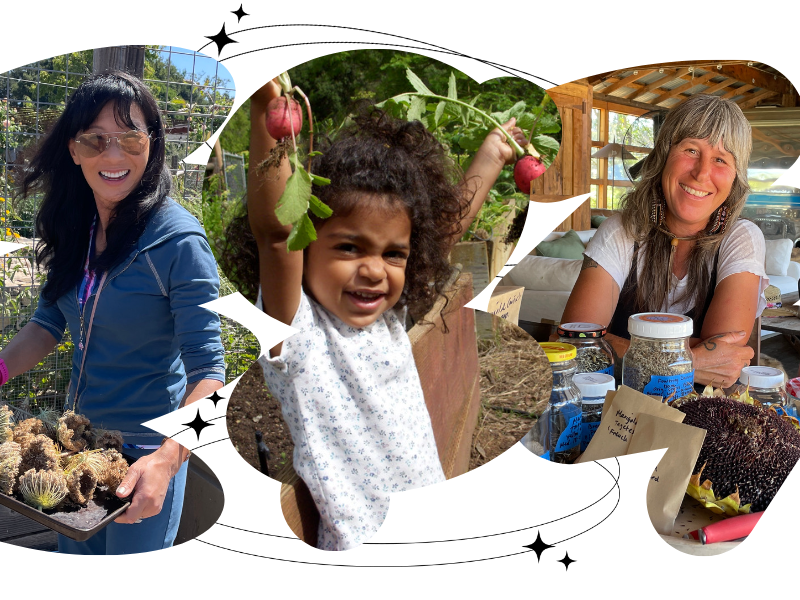
Growing plants from seed
Growing plants from seed demonstrates the power of the plant world and our relationship to it. Have you ever watched a seed germinate by pushing its leaves through soil while its roots wind down underneath? This is called seed germination—a small miracle. Did you know that fastest growing seed—the radish—can germinate in just 5 days? Tap the questions in the box on this page to find out what powers a plant’s reproductive cycle and how to harvest and store its seeds.
Scroll this page for growing guides (the first one on growing beans and saving their seeds is available at this link) that give you step-by-step instructions to start different types of plants from seed. These are organized into broad categories of seeds that grow alike. You absolutely can do this! Give it a try, enjoy the process, and remember to save and return some of the seeds to the libraries.
If you want to to start seeds indoors, the next section walks you through it. Your confidence will grow as you learn new terms that describe the process.
If you want to connect and grow with others, scroll to the very bottom of this page for places to begin.
-
Plants use a few different ways to make new plant babies. Typically, bringing male plant parts (pollen) together with female plant parts (stigma) does the job. But some plants, through human intervention, are often reproduced by bringing genetic material together in a laboratory setting, called hybridization. Humans have also mastered plant reproduction through grafting–taking a cutting from mature plant parts and placing them against another mature plant to fuse them together. At home we can reproduce plants that easily extend their roots into clean soil or water to establish new growth.
-
Plants are pollinated in a number of ways. Nature provides allies, such as wind and insects, to help make new plant babies (seeds). Some plants are successful without aid and pollinate on their own, a self-fertilization strategy. They are called "self crossers." Other plants use the opposite strategy and are "out crossers". They display and share their female (stigma) and male (pollen) reproductive parts openly and widely. They rely on Nature's allies heavily. For more, view the film, "Pollination" by DIY seeds and download Southern Exposure Seed Exchange's handy chart to find out which pollination strategy your plant uses to reproduce its seed and regenerate its aliveness.
-
Each plant reaches full maturity at different times. For quick tips, choose the Planting with Seed cards that matches your seed type. We also have on our website films by DIY Seeds that show you how to determine when your plant is ready to harvest for food vs. for saving its seeds.
-
Each seed type has an optimum method for harvesting its seed. Go to our Learn page to view the film, "Extraction, Drying and Sorting of Seeds," or find the film related to the seed you want to plant. For tips to get started right now with a particular seed type, read the right Planting with Seed card below.
-
Bottom line: you want to store your seeds in cool, dark, and dry conditions. A closet, shoe box, or pantry are good places in a home environment. Go to our Learn page to view the film, "Extraction, Drying and Sorting of Seeds," or watch our 90-second video for quick details on seed storage. For more like this, follow us on YouTube.
Planting with seeds is magical
Before you get started planting with seeds, there are some things you’ll need to know. Every seed planted forms, at first, two leaves called cotyledons. Next it grows its true leaves. True leaves are its second set of leaves in its adult form. When your plant produces 6 to 8 true leaves, you can gently transplant it into a larger container (called potting up) by digging a hole and placing it in new soil to continue to grow it. You may need to do this a couple of times, depending on the plant type and how early you started it from seed. Eventually, you’ll need to adjust the plant to weather conditions outside before finally placing it into the ground, in a permanent pot, or a raised bed.
To do this, bring your young plant, called a seedling, outside for 1 to 2 hours daily for 3 to 5 days so that it can experience more sunlight, air, and changes in temperature. Increase the time your seedling spends outdoors until it adjusts to the new outdoor environment. This is called hardening off. If this process seems too difficult at first, ask an experienced gardener if they are growing seedlings. They usually have extra and are glad to share them.
Seeds are alive and regenerate all around us each day. Knowing the basics of Botany (the scientific study of plants) and being a keen observer will help you figure out the lifecycle of any plant so you can successfully grow it for its beauty, medicine, food, and seeds. Use the illustrations below to get familiar with the processes and parts that contribute to a plant’s reproductive cycle. Tap or click here to view the instructional films by DIY seeds to go even further.
Start seeds indoors for early success
Starting seeds indoors is not as hard as you’d think. Here’s what you’ll need to grow from seed: small- and medium-sized containers, soil, seeds, water, and a space to grow your plants from seed. You can grow inside your home on a windowsill, a porch, or balcony. If you have a greenhouse, or an indoor space that functions like one, you’re lucky! Think about the amount of sun exposure (full sun, part sun, part shade, full shade) and access to water that your growing space provides. Seeds started indoors require warmth and, eventually, gentle (morning) sunlight to germinate (or sprout).
Most garden seeds planted in soil grow in the same way. After being planted in loose soil, a seed grows two leaves from its cotyledons. Cotyledons are the powerhouse of food that the plant stores within each seed to nurture the baby plant and get it up and growing from within the soil in the absence of sunlight. The first two leaves that emerge are its “beginner” leaves, like training wheels, to help it survive until sunlight begins to aid the plant in making its own food through a process called photosynthesis.
What happens next as it grows? Your plant will grow another set of two leaves called “true” leaves. True leaves are the adult form of its leaf. When your plant produces 2 to 4 true leaves, you will gently transplant it into a larger container (called “potting up”). At this stage this plant is called a “seedling.”
What’s “hardening off’? When the seedling reaches a height of about 4 to 6 inches, you’ll want to find an ideal place to bring it outdoors to adjust it to new weather conditions for several days. Bring your seedling in its container outside for 1 to 2 hours each day to expose it to experience direct sunlight, air, and temperature changes. Increase the time it spends outdoors until the seedling adjusts to outdoor conditions. This is called “hardening off.”
You’ll want to find an ideal place to grow your plant outdoors. Transplant your seedling to a pot large enough to support its full adult size outside. Consider if you need a trellis, overhead cover, or drip irrigation to support its continued growth. Dig a hole and place your seedling into new soil, cover the roots, and water thoroughly. Watch it grow. Enjoy your plant’s beauty, medicine, flowers, leaves, pollinator power, fruit, vegetables, and—at the end of its life cycle—its seeds! During this process, remember you helped nurture it to its full potential.
If all of this seems overwhelming at first, don’t give up. If you’re not ready to start from seed, ask an experienced gardener to share some seedlings with you. They usually have extra and are glad to share.
Lauren demonstrates in this video linked here how to start seeds indoors using basic supplies and an indoor growing set-up. (For more like video tutorials like this, follow us on YouTube.)
Expand your gardening skills by sharing the abundance
Spread out. You’ll eventually need more room for your plants to grow to full maturity after you’ve grown them from seed indoors. Share growing space with friends and neighbors who have more room. Be thrifty. Check with a local nursery to see if they have free or used plant containers in 1-gallon sizes or larger. Grow up. Vertical gardening is a popular way to increase your plantable area. You can plant along a wall or fence using repurposed pallets or search online for interlocking planter pots that form a tower to create more growing space. Share widely. Most gardeners have tools and materials to share, as well as extra plants. Borrow them and return the favor with cuttings, fresh produce, or seeds that you collect during your growing season. You absolutely can do this! Give it a try, enjoy the process, and remember to save and return some of the seeds to the libraries.


